Playing the Game
Boosters Controls Creating Battles Crystals Daily Missions Garage Gold Boxes Maps Micro Upgrades Mines Ranks Structure Premium Account Turrets Firebird Freeze Hammer Isida Railgun Ricochet Shaft Smokey Thunder Twins Vulcan Hulls Dictator Hornet Hunter Mammoth Titan Viking Wasp Game Modes Catch the Flag Control Points Death Match Team Death Match Parkour Pro Battles Social Friends Chat Clans |
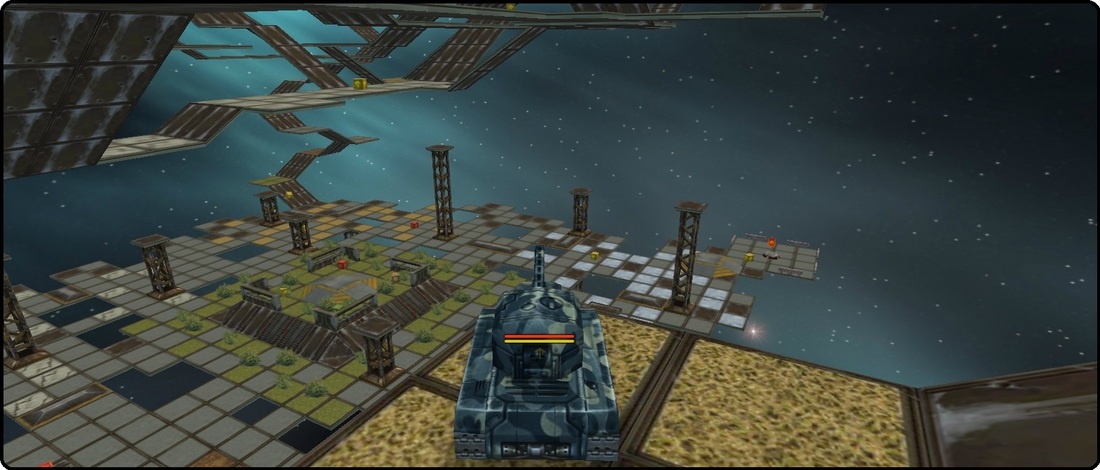
Tanki Online - Maps - MadnessMadness is a fairly large map but the most unusual on Tanki. The map is split in two very different sections with a floor level where the two flags reside for Catch the Flag battles and a series of ramps that go up and up, twisting and turning as they go. Madness is fantastic for snipers and a lot of the time, the enemy tank has no idea where the shot that has just hit them has come from. Shaft and Railgun are deadly in these upper layers but other turrets such as Thunder, Ricochet and Smokey get their share of kills too.
The first time I played this map I was using Twins and I soon changed to Railgun. Twins was fine on the floor but a lot of your time in this map is spent in the layers above, as this is where virtually every tank is spawned. Half the problem I was having was with the hull, which was too slow to be effective. Control Points, Death Match and Team Death Match. Battles take place on Madness but not in great numbers. I feel that many players are just not comfortable playing this map but it has become one of my favourites. On the floor level there is a slightly raised section where one of each of the booster types sit. Once you get to know the Madness map you will start to learn how to drop from the upper levels in to or very near this section, although there is always a good chance an enemy tank is waiting for your arrival. The pictures below give you a rough idea of what this map is all about and take note of all the holes in the floor. When moving at speed, these can often be easy to fall in when under pressure from enemy fire. Go anywhere on the map that is not solid and you will self-destruct. If there are a lot of players on Madness at the same time, you will see lots of tanks falling from above and landing upside-down, outside the boundaries of the map or through the numerous holes, and this will almost certainly happen to you at some point in your Tanki career. This happen mostly because many players do not know how to fall off the higher levels and land safely below.
Landing safely on the Madenss map, and indeed other maps where you might fall or jump from height, is best achieved by using a turret that has recoil when fired, i.e. Ricochet, Thunder, Smokey, Railgun, Hammer and Twins. Firebird, Freeze, Isida, Shaft, and Vulcan do not have recoil so it is harder for these turrets to land. For those with recoil it is a simple case of falling off the edge of one of the ramps (a level section), and when in free-fall, before you are at right angles to the ground below, shoot. Once is enough in most cases but Twins will need more shots. This action should raise the front of your hull, ready to land level on the ground.
Tanks with no recoil have two sets of ramps in opposite corners which can be driven down all the way to the floor but take care to not go too fast as it can be easy to fall off at speed as you make your way down. Going back up these ramps is quite tricky too, in fact I find it harder to go up than I do to go down. Madness is not a map that is to everyone's liking but I would suggest you try it out a few times and get some experience. You may hust get to love it as I do. Madness is available to players who hold the rank of Sergeant and higher in the Ranks Structure. Take a quick tour of the Madness MapBelow is a "Real Time" tour of the Madness Map showing the two team flags, route between them, supply drop points and the crazy maze of ramps and platforms above.
Booster Drop Zones on the Madness MapBelow is the plan of the Madness map showing all the booster drop locations (I think). There are seven Control Points with the red team flag position doubling up as one of them, although the position of the blue team flag does not double up as a Control Point. The remainder of the control points are scattered in the upper layers of the map.
There are lots of Speed Boosters which are well placed for attacking the enemy bases, as are the Double Armour boosters. On the lowest level, right in the centre, is a partially enclosed section which houses one of each booster and a repair kit. Not surprisingly these are fought over as more and more tanks drop from above.

|